Our main topic for discussion today was lighting, but first…
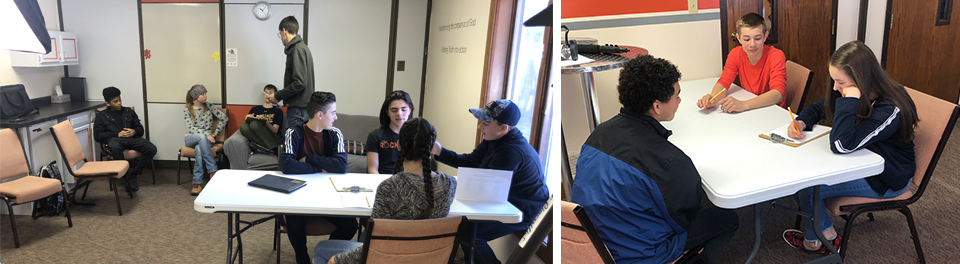
To create final projects, the students are divided into three groups. We started our class time with one student from each group “pitching” their idea for their commercial. Group 1 will be interviewing a teacher, a middle school student and a high school student to create the base of their commercial. Footage will be shot and edited to “show” what the interview subjects are talking about. This footage is also called b-roll.
Group 2 is planning to shoot a diverse amount of Lighthouse Co-Op footage and then add a voice over with music track.
Group 3 has written a satirical script and will create more of a narrative video about their experiences being a part of Lighthouse.
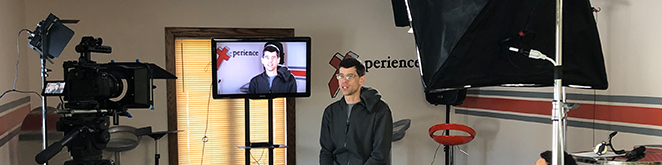
On to the lighting recap:
The foundation of any lighting set up is 3-point lighting. Below is a diagram of the typical set up.
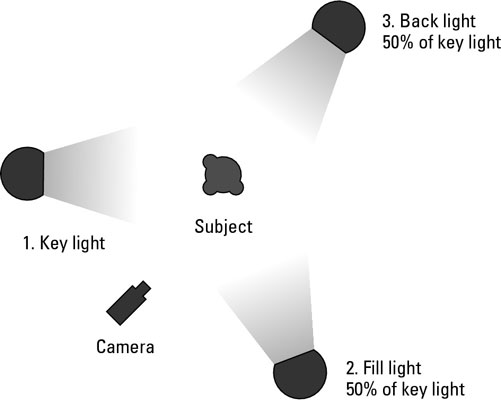
IMAGE source: how to use 3 point lighting in your marketing video
Key light – this is the first and main light source for the set up. The Key light is usually the brightest and can be placed on the broadside of the face or the short side (two different looks).
Fill light – as it implies, is a secondary frontal light to counteract the key light and fill in shadow areas. The amount of this light can create moods from dramatic to corporate lighting.
Back light – the main purpose of this light is to separate the subject from the background. If placed directly up and behind the subject, it will cast light on the back of the subject’s head and shoulders…it can be soft and dim or hard and bright depending on the “look” desired.
Here is a great video to watch for a basic demonstration: A real lesson on video lighting
After our lighting demonstration, the students gathered in groups to script and storyboard their final project videos.